9 Steps to Winterizing Your Collector Vehicle - Shield Insurance Agency Blog

9 Steps to Winterizing Your Collector Vehicle

Shield Insurance Agency Blog | Winterizing Your Collector Vehicle | Start A Quote Today!

Winterizing Your Collector Vehicle?

In most of the country, cold weather is here to stay, so it’s likely time to prepare your ride for hibernation. And because collector cars don’t live the same life as a vehicle that’s driven every day, it’s important to follow a winterization process thoroughly, to ensure your car survives the cold months.

9 steps to Winterizing Your Collector Vehicle

  1. Fuel stabilizer is the engine’s best friend. As fuel sits, it degrades and coats the inside of the tank and engine parts. Stabilizer in the tank prevents that. Run the engine a little to get the treatment into the carburetor or injectors.
  2. Top off the fuel. This prevents condensation build-up in the tank.
  3. Top off the oil. Make sure the oil level is full. Once spring comes around, you will want to start the car, warm the engine up to operating temperature to burn out the moisture, and then change the oil so you are ready for show season.
  4. Test and top off anti-freeze. Testing the antifreeze is extremely important to preventing freeze damage to the inside of the engine block. Antifreeze testers are available at most auto parts stores.
  5. Clean the car before storage. Cleaning and waxing the exterior before putting a breathable car cover on, will help maintain the quality of the paint, and prevent moisture, that can cause corrosion and mildew.
  6. Tires. Inflate tires properly, and treat them with a good tire gel, both inside and outside walls.  You can also put the car on jack stands to get the weight off of the tires.  This will help prevent flat spots.
  7. Reduce moisture.The interior and exterior of the car need to be protected from moisture.   A damp garage will corrode all bare metals, damage paint, and cause mildew and mold in the interior. A small fan or a shop light with a candescent light bulb under the car will help eliminate moisture. For the interior, DampRid or some sort of moisture absorbing material will keep things clean and dry.
  8. Battery. Use a battery tender that monitors the battery and charges it when needed.
  9. Insurance. Last but not least, check your car’s insurance policy or talk with your insurance agent. Even if you’re storing your ride indoors, it’s still at risk of theft, vandalism, or physical damage.

For informational purposes only and may not be applicable to all situations.

Coverage is subject to policy terms, conditions, limitations, exclusions, underwriting review, and approval, and may not be available for all risks or in all states. Rates and discounts vary, are determined by many factors, and are subject to change. Policies are written by one of the licensed insurers of American Modern Insurance Group, Inc., including American Modern Home Insurance Company d/b/a in CA American Modern Insurance Company (Lic. No 2222-8).

More Blogs from Shield Insurance Agency

Read More
How To Winterize Your Motorcycle in 7 Simple Steps - Shield Insurance Agency Blog

How To Winterize Your Motorcycle in 7 Simple Steps

Shield Insurance Blog | Winterize Your Motorcycle | Start A Quote Today!

Ready to winterize your motorcycle?

Cold temperatures are settling in, which means motorcycle riding season is coming to an end. Unless you live in the southwest or southern states, odds are you will be putting your ride in storage for the winter months. Unfortunately, simply keeping it covered is not enough.

If this is the first time you are winterizing your motorcycle, or you simply need a refresher, we’ve put together a simple 7-step guide to help steer you in the right direction.

  1. Fuel stabilizer is the engine’s best friend. As fuel sits, it degrades and coats the inside of the tank and engine parts. Stabilizer in the tank prevents that. Run the engine a little to get the treatment into the carburetor and injectors.
  2. Top off the fuel. This prevents condensation build-up in the tank.
  3. Old oil becomes acidic. When the engine is warm, change it, and add a small amount into the cylinders to keep them protected, too.
  4. Add anti-freeze. If the bike is liquid-cooled, refresh the anti-freeze.
  5. Wash, dry and polish. The goal is to clean off corrosive material, then build up a protective coating on the metal, chrome and leather.
  6. Stay off the concrete. Park the bike on a sheet of plywood or an old carpet, or elevate the cycle on a stand. The intent is to prevent flat spots from forming and eliminate moisture build-up under the tires.
  7. Cover it. After completing the steps above, you can now put the entire bike in a storage bag. This will keep it protected from whatever the kids or wind bring into the garage over the winter.

Last but not least, check your motorcycle insurance policy or talk with your insurance agent.  Even if you’re storing your ride indoors, it’s still at risk of theft, vandalism, or physical damage.

For informational purposes only and may not be applicable to all situations.

Read More
In case of emergency How to prepare your phone - Shield Insurance Agency Blog

In case of emergency: How to prepare your phone

Shield Insurance Blog | prepare your phone | Start a Quote Today!

Today, our phones are rarely outside of our reach. This makes them one of the best tools we have for quickly responding to an emergency situation and increasing the chances of a more positive outcome.

How prepared is your phone to handle an emergency?

In most emergency situations, you would be the one to contact someone for help. So, it’s important to take a few minutes to research and save important emergency contact numbers on your phone so you can make the call immediately and get help faster.

Here are the main emergency phone numbers to save on your phone:

  • Your emergency contact, such as a parent, spouse or close friend
  • Police, 911 in the United States for emergencies
  • Poison Control Center
  • State Highway Patrol
  • Your nearest police and fire department (for non-emergencies)

You should also consider saving these important numbers in your phone to help you in an emergency:

  • Your doctor, pediatrician and/or veterinarian
  • Your pharmacy
  • Home health aides
  • Your insurance company
  • Your roadside assistance provider
  • Your employer
  • Your child’s school or caregiver
  • A nearby relative or friend
  • An out-of-town relative or friend

There are also some emergency situations, like a bad fall or car accident, where you might not be able to communicate with first responders. For this reason, it’s important to take these two steps:

  1. Add an emergency contact in your phone, such as a parent, spouse or close friend who can come to your aid.
  2. If your phone locks, set up a lock screen message to communicate helpful information to first responders, like your emergency contact, blood type, allergies and medications.

Depending on the type of phone you’re using, there are different ways to add a lock screen message.

iPhone users can use the Health app on their phones to add their basic personal information, important medical details, and emergency contact numbers within the Medical ID tab and make them accessible from their lock screen. Just make sure you select “Show When Locked” and test it out after you’ve finished setting it up.

Android users can set up their lock screen message by going into their Settings, Users & Accounts, and then Emergency Information. Enter your medical information and emergency contact. Then test it out by locking your phone, swiping up, and tapping “Emergency” to find the information you entered.

Additionally, Android lets you put any message you want on your locked screen. To do this, open your Settings, go to Security & Location, and next to the Screen Lock tab hit Settings. Then, tap Lock Screen Message. Here, you can enter your primary emergency contact or important medication information so that it always displays on your locked phone screen.

Because it’s difficult to predict when or where an emergency will happen, it is a smart idea to update your phone now so that you’re prepared to handle any situation that comes your way in the future. Be safe out there!

Read More
Is Your Motorcycle Coverage a Perfect Fit

Is Your Motorcycle Coverage a Perfect Fit?

Shield Insurance Blog | Motorcycle Coverage | Contact Shield

Not all bikes are the same. Motorcycle Coverage isn’t all the same, either.

Picking good motorcycle insurance is more than just choosing between comp and collision or liability-only. Here are four questions to ask yourself about coverages and options before you switch to a new policy or renew your current one.

1) What is your health insurance Motorcycle Coverage like?

An odd question? Not really, given the big changes we’ve all experienced in the last few years with health care. If you have a high-deductible policy, and need an x-ray or go to urgent care, you’ll likely pay out-of-pocket.

Medical payments coverage (often called “Med Pay”) might be worth considering. The typical $500 limit should be enough to cover smaller medical bills and it does not cost much to bump up to a higher limit.

While you’re at it, you might want to consider uninsured and under-insured motorist (UM/UIM) protection, too. That covers larger medical costs as well as repairs or bike replacement — if you’re left with the bill from an at-fault driver without sufficient insurance.

2) Are you into long road trips?

Whether it’s that bucket-list ride to Sturgis, or just a long-weekend cruise, you’ll want to consider:

  • Rental coverage – If you can’t ride your bike due to physical damage, your trip isn’t over. This endorsement covers the cost of a rental to finish the trip or get you home.
  • Travel loss reimbursement – This could coverour room, dinner, and a ride-share after an accident.
  • Towing and emergency assistance – Coverage for the reimbursement of some of these costs, too.
  • Trailer coverage – Separate coverage can be added for damage to your bike trailer.

3) Does your wingman have a fuzzy face?

No, we don’t mean your uncle Earl. Coverage for injury to your dog or cat is a newer option you can add.

4) Do you ride year-round?

In much of the country, riding is a seasonal sport. It’s tempting to save a few bucks by canceling your policy when you put your bike under wraps for the winter. But it can still be stolen, vandalized, or damaged. Consider year-round coverage for your bike.


Recent Blogs

Read More
Top Eight Towing Mistakes People Make - Shield Insurance Agency Blog

Top Eight Towing Mistakes People Make

Top Eight Towing Mistakes People Make

The idea of hauling something huge behind your truck or SUV may sound like a fun adventure, but for those who aren’t familiar with the complexities of towing, it can actually be pretty intimidating! According to Complete Trailers LLC, there are eight common mistakes people make while towing. To avoid costly damages, read this list before you hitch and go:

  1. Overworking Your Engine
    The number one mistake people make is overworking their tow vehicle. Overextending your vehicle can start a landslide of engine problems. This mistake could lead to a meltdown on the side of the road and potentially require a brand new transmission.To avoid this, keep an eye on your pressure, temperature gauges, and exhaust gas temperature gauges.
  2. Wrong Weight Distribution Bars
    If you don’t have your weight distribution bars set up right, you’re bound to have your vehicle and trailer bouncing from each other. Your ride will be bumpier than usual and the hitch and frame can be damaged from this too.And when it comes to weight distribution bars, bigger is not better. The bars with chains are tunable and come in various strengths and weights. If you properly load the correct bar size, they’ll be parallel to the trailer’s frame.
  3. Not Checking or Maintaining Brakes
    Brakes are the most essential and most overlooked safety system.Trailer brakes don’t self-adjust like the brakes on your tow vehicle. In fact, they must be manually adjusted by you. Additionally, trailer brakes wear out just like any other brake does, so be sure to check for wear and tear regularly.
  4. Poorly Loaded Vehicles
    It’s crucial for safety and damage prevention to always put a balanced load on your trailer. Read up on weight restrictions and follow them closely because if you don’t, your tow vehicle won’t last very long.
  5. Wrong Ball/Ball Mount
    Make sure that you have the right ball and mount for your trailer. There are three different sizes of balls: 1 7/8 inches, 2 inches, and 2 5/16 inches — each with a different weight rating. Using the wrong mount or ball will pitch your trailer up or down on your axles and it also puts extra stress on your brakes and tires, which eventually reduces your breaking ability. If you use multiple trailers, carry multiple mounts.
  6. “Racing” While Towing
    We know how exciting it is to get to a destination, but remember, slow and steady wins the race! Speeding up or down a grade is the last thing you want to do because it’ll ruin the longevity of your tow vehicle.
  7. Low-Pressure Tires
    If you maintain the right tire pressure on both your tow vehicle and trailer, you’ll have even tire wear, which means you’re less likely to have blow-outs from overheating. This scenario is especially dangerous when it happens on your rear trailer tires, so make sure to pay special attention to them. Tires degrade more quickly when not in use. Before you hitch and go, remember to always inspect your tires and pressure.
  8. Not Lubing Your Components
    Like any well-oiled machine, taking preventative measures with your trailer and tow vehicle goes a long way. Axles and all pivot points where steel meets steel (or rubber bushings meet steel) should be greased.

Shield Insurance Agency wants you to travel and tow safely.


Recent Posts

Read More
18 years past 9/11 Memorial - Shield Insurance Agency Blog

18 years past the 9/11 Memorial

Shield Insurance Blog | 9/11 Memorial |

I was watching the TV, on 9/11, as my young children were in the driveway waiting for the school bus. I peeled myself away when I heard the bus driver honk the horn to give me a wave goodbye.

The TV images were numbing. We remember them, they are unforgettable.

Days later as the rubble from the buildings settled, and the immediate chaos cleared, people started to do more, be more, give more, go to church more. For a while, it changed many areas of our everyday life.

Weeks later our neighborhood held a block party. I set a jar out to collect funds to do something in a neighborhood affected by 9/11, from a neighborhood to a neighbor. I was thinking maybe a bench or a birdbath. The money and support poured in, not only from our neighbors, but local companies, communities, the city of Flower Mound, and beyond.

9/11 Memorial

We ended up with almost $10,000 in cash, 12 square feet of granite, and the etching donated. Even Federal Express stepped up to ship a stunning 12-foot square laser etched memorial. Designed by two teenage boys from our neighborhood, it was placed in a New Providence New Jersey Neighborhood that lost 6 people that fateful day.

It was a project of good love and support, from our neighborhood, our community, the city, area businesses, and it had the same effect on the people of New Providence whom I am still very close friends today.

I wish there was a way to commemorate this event for the vast goodness it brought out in the people. I wish the anniversary wasn’t so difficult on all the families that lost loved ones, and the thousands of people that were in the path of responding…. It was a very painful time for too many people. Some years I don’t want to mention the Memorial our town made happen.

But I always go back and remember all the good that people gave and the goodness that we, as a nation, need to keep showing over and above all the other bad in the world. It always boils down to the simplicity of Good vs Bad. I choose to rejoice in the Good.

Connie Simmons-Miller


Recent Posts

Read More
Do You Know Your Flood Risk - Shield Insurance Agency Blog

Do You Know Your Flood Risk?

Are you in a flood risk zone?

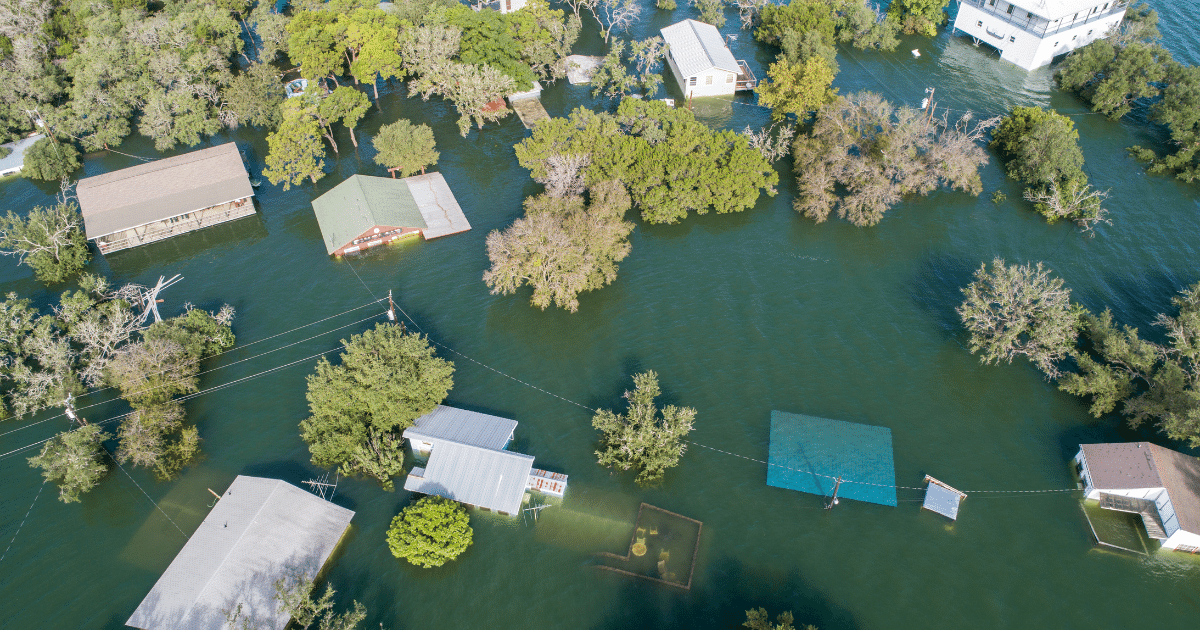
According to the National Flood Insurance Program (NFIP), everyone lives in a flood risk zone. Even those who don’t live near water are at risk because anywhere it rains, it can flood. Heavy rains, clogged or insufficient drainage systems, nearby construction projects, broken water mains, and inadequate levees and dams can cause flooding that puts your home and belongings at risk.

Your home is one of your greatest investments. It’s important to prepare ahead should a disaster occur. Here are three simple steps to help make sure you’re ready in the event of a flood risk.

  • Create a “flood file” and keep it in an accessible waterproof and fireproof container. It should contain a personal property inventory of your home, a copy of your insurance information, copies of any critical personal documents (e.g. social security cards, titles and deeds), and a CD backup of computer documents and digital photos.
  • Prepare your home by making sure your sump pump works and has a battery backup, your gutters and downspouts are clear, your electronics and appliances are elevated, and any valuables and keepsakes are moved to a higher level.
  • Develop an emergency plan that includes evacuation routes from home, work and school. Make sure that plan includes an out-of-town contact list that all family members can call in case you get separated. Also, create an emergency kit with extra drinking water, non-perishable food, first-aid materials, blankets, a battery-powered radio, a flashlight, and extra batteries that can be grabbed easily if you need to evacuate.

It’s important to know that most home policies don’t cover flooding and just a few inches of water damage can cost thousands. To find out if you live in an area that is at risk for flooding, type in your address in the FEMA Flood Map Service Center and use this interactive tool to learn more.


Latest Posts

Read More
What To Do After A Flood - Shield Insurance Agency Blog

What To Do After A Flood

Anyone who’s been through a flood knows that recovering after this kind of disaster isn’t easy. You’re forced to accept that irreplaceable family treasures and memories may be gone forever, your furniture is destroyed, potentially along with your home. It’s a devastating and emotional moment and a lot to take in all at once. But you know the only thing you can do is move forward, and begin the steps needed to restore your home.

As soon as the floodwaters recede, you can return to your home as long as officials give the OK to do so. Before entering your home, however, make sure it is safe!

Tips for staying safe upon return:

  • Check for structural damage and use extreme caution. One way to do this is to check if the walls are vertical and straight.
  • Turn off the electricity in your home at the main breaker or fuse box. Make sure you stand in a dry spot to do this! If you can’t stand in a dry spot, call an electrician who will take care of the risk.
  • Turn off the gas. If you smell something unusual, leave immediately and call your gas company from another location.
  • Check your sewage system. Repair damaged septic tanks, cesspools, pits, and leaching systems as soon as possible. These are serious health hazards.
  • Take precautions when inspecting your home. Your home may have sagging ceilings and areas that are still flooded. Also beware of critters like snakes, spiders, and rodents that may have taken refuge in your home!

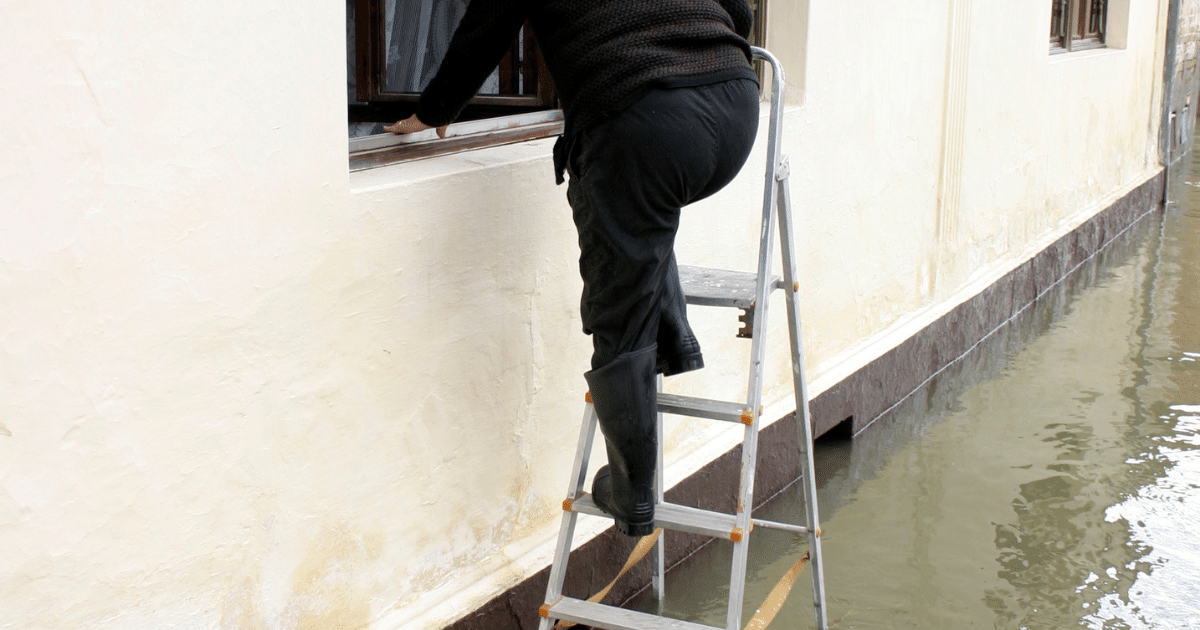
Bring waterproof boots, a first aid kit, cleaning supplies, and a battery-powered flashlight with you before entering the house! You never know what you’ll run into.

Tips for claim reporting:
Another important step to take when recovering from a flood is reporting your loss immediately to your insurance agent or carrier. While flood coverage is typically not provided under most homeowner’s and renter’s policies, flood insurance may be available to you through the federally regulated program known as the National Flood Insurance Program (NFIP). If you need assistance to locate your flood insurance carrier, you can call 1-800-621-FEMA (3362). A claims adjuster should contact you within a day or two after the report of the claim, depending on the severity of the flood event.

When reporting a claim, you should have the following information available:
– Your name and address
– Policy number
– Date the loss happened
– Description of events that led to the loss
– Active phone number
– Confirm what’s covered under your NFIP policy (some policyholders may only have building or personal property items coverage, not both)

Tips for inspections:

The next step, according to the Federal Emergency Management Agency (FEMA), is to prepare for your inspection. After deeming the structure safe for entry, take as many photos or videos of the flood-damaged property on the outside and inside. Take pictures of high-cost items as well like washers and dryers, hot water heaters, televisions, and kitchen appliances. It’s also a good idea to separate the damaged from undamaged items prior to the inspection.

When the adjuster arrives, they will inspect your property including taking measurements and photos, and give you an overview of the NFIP flood claims process. Remember that some flood insurance claims are more complex than others. Some may be opened and closed quickly, while others may take weeks or even months to resolve.

If your vehicle was also damaged in a flood event, it’s best to call your auto insurance provider to see if you’re covered for the loss.

Read More
Preparing For Severe Weather - Shield Insurance Agency Blog

Preparing For Severe Weather

Are you ready for Severe Weather?

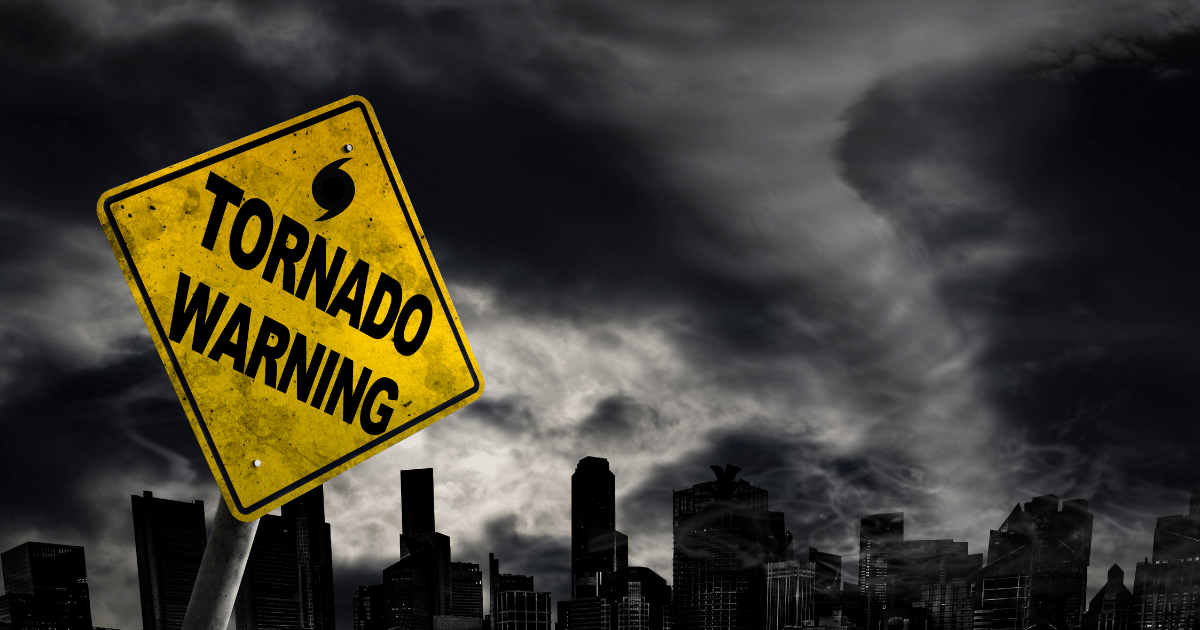
Try and put yourself in the shoes of those who have gone through a natural disaster, and imagine this: Before a severe weather event hits – you hear the warnings from state officials and your local news, but might not take them too seriously. They’re urging the public to stock up on food and supplies, fill up on gas – or – worst-case scenario, they tell you to evacuate the area immediately. As the storm system nears, you realize this is serious. But, by the time you make it to the grocery store for important supplies and water– everything is sold out. It’s at that moment you might be asking yourself, “How did I let this happen?”

Severe weather can strike anywhere in the U.S., and if a disaster hits in your area, you may not have access to food, water, or electricity for days. According to the Centers for Disease Control and Prevention, nearly half of adults in the U.S. do not have the resources or plans in place for an emergency – that’s a big number! Always remember – there’s no such thing as being “too prepared,” and it’s better to start preparing now than later when the store shelves are empty!

Below are some important items to include in an emergency preparedness kit:

  • Food and water. A three-day supply of non-perishable goods, and have one gallon of water per person per day for at least three days. (Also have a manual can opener on hand!)
  • Prescription medicines. Have at least a three-day supply on hand.
  • Personal care items. Items like soap, toothbrush, toothpaste and contact lenses.
  • First aid kit. Your local store should have them in stock. They cost anywhere from $25 to $35.
  • Electronics. Be sure to have battery-powered or solar flashlight, a cell phone with a portable charger and have extra batteries on hand.
  • Important papers. Copies of drivers’ licenses, special medical information, social security cards, etc. Keep them in a waterproof, air tight bag so water doesn’t seep through.
  • Cash. With no power, stores may not be able to take credit cards and ATMs may be out of cash so keep a reasonable amount of cash available so you have it if needed.
  • Basic hand tools. A wrench or pliers to turn off utilities.
  • Pet food and extra water for your pet. Your furry friends also need a three-day supply of food and water!

Depending on the size of your family, you may need additional supplies not included in the list, such as baby formula or games for the kids.

If you do end up losing power, it’s important to think about ways you can keep your food cold temporarily if you don’t have a cooler on hand. One option is your washing machine – just fill it with ice and voila! You won’t have to worry when the ice starts melting since it can drain water. Plus – it has a lid! A second option is to fill your bathtub with ice.

Keeping these items on hand is crucial and could potentially save a life. Place your emergency kit in a designated spot all family members are familiar with and have it ready in case you need to leave your home quickly. From everyone here at Foremost – stay safe and stay prepared!


Latest Posts

Read More
Prepare for A Summer Outdoors - Shield Insurance Agency Blog

Prepare for A Summer Outdoors

Shield Insurance Blog | Summer Outdoors | Start a Quote Today!

Ready for a great summer outdoors?

The summer is just starting to roll, so what better time to head out with family or friends for a weekend in the great outdoors! Camping at a local campground or state park could be just what you need before school is back in session. The birds chirping, the bugs buzzing and the sun beating down on your tent will remind you to be prepared.

It’s the knowledge that we will share with you here that separates the amateurs from the seasoned campers. You want to be a seasoned camper, don’t you? The prepared one that everyone goes to if they need duct tape, dental floss, or any other random item. We will help you become that go-to guy or gal with this simple checklist and some tips from Foremost.com.

Prepared Camper checklist:

  • Tent, tarp and sleeping bags (I’m sure you already knew that)
  • Extra blankets and towels
  • Waterproof matches, pots, pans and utensils
  • A utility knife and rope
  • Hammer
  • Extra stakes
  • Extra chairs
  • Emergency medical kit
  • Plenty of water (for drinking, cooking and cleaning)
  • Cooler packed full of delicious food, snacks and beverages
  • Dish soap and hand sanitizer
  • Duct tape (you can use this stuff for anything)
  • Dental floss (always handy after a dinner of fresh grilled chicken or steak)
  • Ziploc bags (so useful!)
  • Sunscreen/chap stick with SPF
  • Flashlight
  • Warm hat (80% of heat loss occurs through your head. You never know when you are going to get a chilly night)
  • Layers of clothes (no matter what time of year, it’s the easiest and most effective way to control your body temperature)
  • Playing cards/games (just for fun)

Foremost wants you to safely experience all the adventure you can.


Latest Posts

Read More